
Replacing a home heating system is an important investment in comfort, energy efficiency and reliable performance. Whether your existing furnace has reached the end of its lifespan or your energy bills have steadily increased, a new system can help maintain consistent indoor temperatures during cold weather. Understanding the replacement process makes it easier to prepare your home, plan your budget and know what to expect from your heating contractor.
1. Initial Inspection and Heating Assessment
The process usually begins with a professional inspection of your current heating equipment. A technician will assess the system’s age, condition, heating capacity and overall performance. They may also check the ductwork, thermostat, ventilation and existing fuel connections.
This assessment helps determine whether replacement is necessary and which options suit your home. For homeowners considering heating system replacement in Des Moines, IA, the local winter climate makes selecting an appropriately sized, dependable system particularly important.
The technician should also discuss your comfort concerns, including cold spots, unusual noises and rising utility bills. Sharing these details helps them recommend a practical solution rather than simply replacing the existing equipment with a similar model.
2. Choosing the Right Heating System
Once the assessment is complete, your contractor will explain suitable replacement options. These may include gas furnaces, electric heating systems or heat pumps, depending on your property’s existing infrastructure and energy requirements.
Consider Energy Efficiency
Compare efficiency ratings, estimated operating costs and the manufacturer’s warranty. A more efficient model may cost more initially but could reduce energy consumption over time, depending on usage, installation quality and local energy prices.
Check the System Size
The heating system must match your home’s heating requirements. An undersized unit may struggle to maintain comfortable temperatures, while an oversized system can cycle on and off too frequently, potentially increasing wear and reducing efficiency.
A professional contractor should calculate the heating load using factors such as floor area, insulation, window performance and air leakage. Avoid choosing a unit based on square footage alone.
3. Preparing Your Home for Installation
Before installation day, the contractor should explain the schedule, expected duration and any preparations required. Many standard residential replacements can be completed within a day, although complicated installations may take longer.
You can make the process easier by:
- Clearing the area around the existing furnace or heating unit.
- Providing access to the equipment, electrical panel and thermostat.
- Keeping children and pets away from the work area.
- Discussing any concerns about dust, noise or temporary heating arrangements.
Your contractor should also explain whether any permits or inspections are required under applicable local regulations.
4. Removing the Old Heating Equipment
The installation team will safely disconnect the existing unit before removing it. Depending on the system, this may involve electrical connections, gas lines, refrigerant lines or ventilation components.
Qualified professionals should handle these tasks using appropriate safety procedures. If the existing system has damaged ductwork, deteriorated wiring or unsuitable venting, additional repairs may be necessary before the new equipment can operate safely.
The contractor should explain any unexpected issues and obtain your approval before proceeding with additional work.
5. Installing and Testing the New System
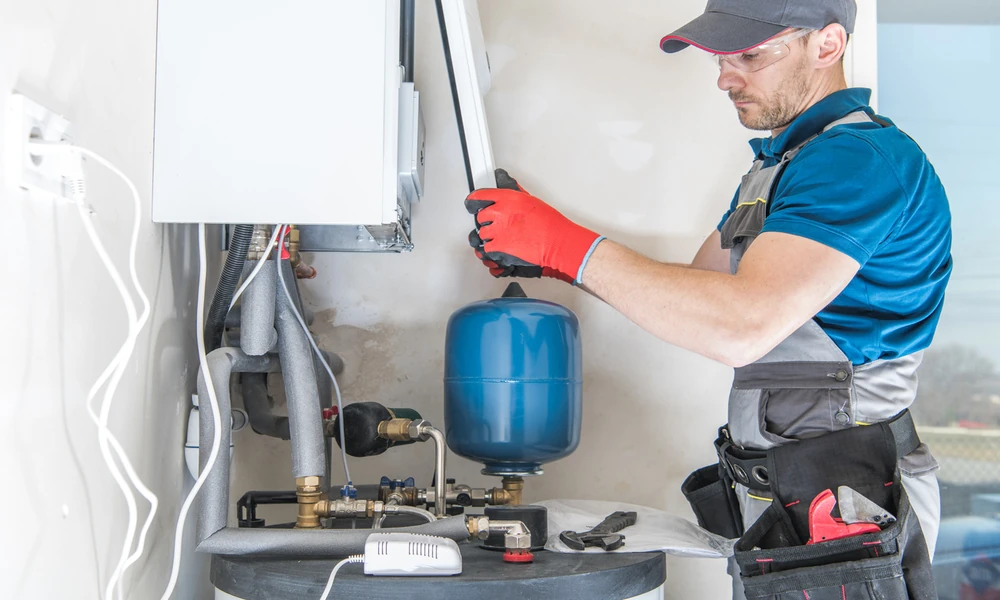
After removing the old equipment, technicians will position and connect the replacement unit. They may also install a compatible thermostat, modify ductwork or update other components required for proper operation.
For homeowners arranging heating system replacement in Des Moines, IA, careful commissioning is essential for dependable performance throughout the heating season.
Once installation is complete, the technician should test the system’s operation, check airflow, verify thermostat settings and inspect relevant electrical, fuel and ventilation connections. They should also confirm that safety controls function correctly and that the equipment meets the manufacturer’s installation requirements.
Before the team leaves, ask for a demonstration of the thermostat and an explanation of routine maintenance requirements.
6. Final Checks, Documentation and Maintenance
A professional replacement should include a clear handover. Your contractor should explain the warranty, provide relevant paperwork and outline recommended servicing intervals.
Regular maintenance helps protect your investment. Replace or clean filters according to the manufacturer’s instructions, keep supply and return vents unobstructed, and arrange professional inspections at the recommended intervals.
Keep installation records and warranty documents somewhere accessible. If you notice unusual noises, inconsistent heating or unexpected changes in energy consumption, contact a qualified technician rather than attempting complex repairs yourself.
Frequently Asked Questions
How long does a heating system replacement take?
Many straightforward residential installations take around one day. Larger systems, ductwork modifications and unexpected repairs can extend the timeframe.
Will I need to leave my home during installation?
Usually, no. However, you may need to avoid the immediate work area. Ask your contractor whether the installation will interrupt heating, electricity or other household services.
How can I prepare for winter?
Schedule an assessment before the coldest weather arrives where possible. Early planning allows more time to compare equipment, arrange installation and address any additional repairs.
Conclusion
A professional heating system replacement involves much more than removing an old unit and fitting a new one. Proper assessment, careful equipment selection, safe installation and thorough testing all contribute to long-term comfort and reliable performance. By understanding each stage and working with a qualified contractor, homeowners can make informed decisions and prepare their properties for colder weather with greater confidence.